- Admin access to your Shopify store
- A Google account with Editor access on Analytics
- Your store domain, live and on the primary domain
- Your cookie consent banner details, if you target the EU or UK
- A test order plan (a real low-value order or a test payment)
Introduction:
If you run a Shopify store and cannot answer "which channel made my last 100 orders," you are spending money blind. Google Analytics 4 is the free tool that answers that question, but only when it is connected to Shopify correctly. A default install often misses purchases, double-counts orders, or sends events without revenue data, which makes your Google Ads and marketing decisions unreliable.
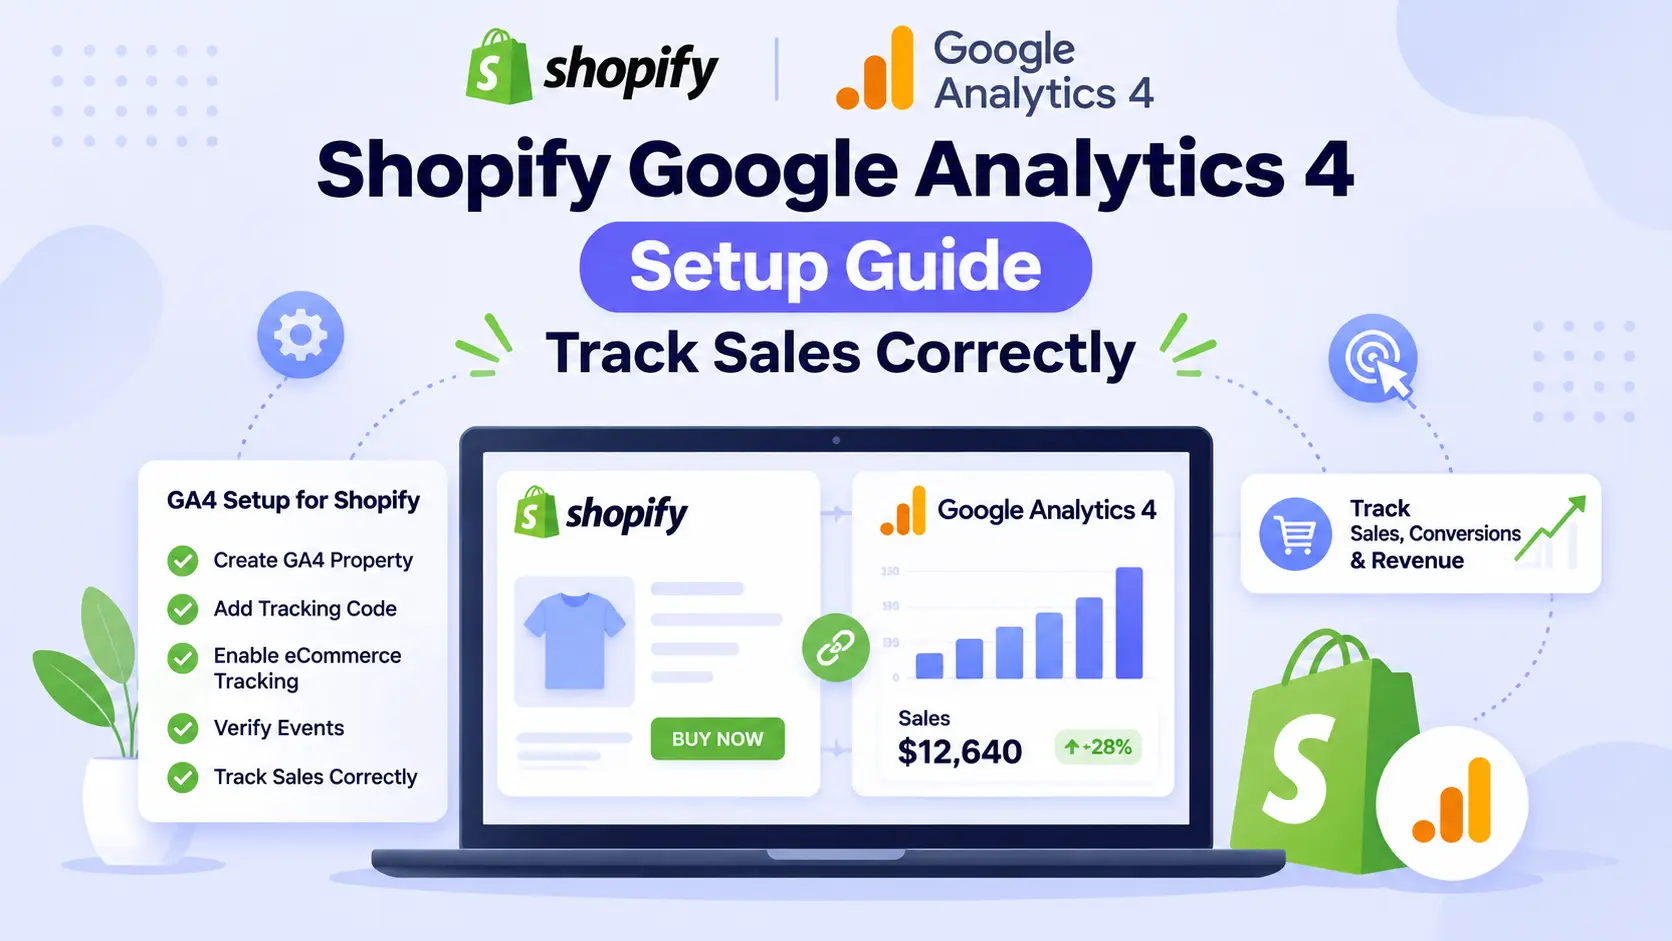
This guide covers the full Shopify GA4 setup in the order you should do it: create the property, connect it to your store, track the ecommerce funnel, mark purchases as key events, handle consent, and verify every step with real data.
In short
Connect GA4 + Track ecommerce events + Mark purchase as a key event + Remove duplicate tags + Verify in DebugView = Sales data you can trust
What You'll Achieve With This Setup
After following these steps, your GA4 property will:
Show accurate revenue by channel
Reveal the full ecommerce funnel
Give your Google Ads accurate ROAS data
Support smarter budget decisions
Before You Start: Requirements Checklist
Requirements
Have these ready first
1Create the GA4 property and web data stream
- Open Google Analytics, go to Admin, then click Create property.
- Set the property name, reporting time zone, and currency to match your Shopify store currency. Currency mismatches are a common cause of wrong revenue.
- Under Data streams, choose Web, enter your store URL (for example
https://yourstore.com), and save. - Copy the Measurement ID (format
G-XXXXXXXXXX). You will need it in Step 2. - Under Admin, then Data settings, then Data retention, set event data retention to 14 months so your year-over-year reports work.
2Connect GA4 to Shopify
Use one primary method for ecommerce tracking. Shopify's native connection handles checkout events that theme code cannot reach.
- In Shopify admin, install the Google & YouTube app (sales channel) if it is not installed.
- Connect your Google account and select the GA4 property you created. Paste the Measurement ID if prompted.
- Confirm the connection status shows active. Shopify then sends storefront events (page views, product views, add to cart) and checkout events (checkout started, purchase) to GA4.
- For custom events, use Settings, then Customer events, to review or add pixels. Do not add a second GA4 tag on top of this.
Important: If you already have a GA4 tag pasted into
theme.liquid from an old setup, remove it after the app connection is confirmed. Running both is the most common reason for double-counted purchases.
3Verify basic tracking in Realtime
- Open your store in an incognito window, browse a product page, and add an item to cart.
- In GA4, go to Reports, then Realtime. You should see your session and events within about 1 minute.
- Confirm that
page_view,view_item, andadd_to_cartevents appear.
For detailed event parameters, open Admin, then DebugView, using the GA Debugger or Google Tag Assistant browser extension to enable debug mode.
4Check the ecommerce event funnel
A correct setup sends these standard GA4 ecommerce events with the right parameters. Check each one in DebugView, not just in reports.
| Event | Fires when | Must include |
|---|---|---|
view_item | Product page viewed | items, value, currency |
add_to_cart | Item added to cart | items, value, currency |
begin_checkout | Checkout started | value, currency, items |
purchase | Order confirmed | transaction_id, value, currency, items, tax, shipping |
Check: Every
purchase needs a unique transaction_id. If the same ID fires twice, you have a duplicate tag. If value is 0, the event is not reading the order total.
5Add a missing event with theme code (optional)
Use this only if DebugView shows view_item is missing on your theme. Place it in sections/main-product.liquid or a product snippet, and make sure your GA4 tag already loads. The guard prevents errors if GA4 is not loaded.
{%- comment -%} Product view event, only if the connection did not send it {%- endcomment -%}
{%- if product -%}
<script>
  window.dataLayer = window.dataLayer || [];
  if (typeof gtag === 'function') {
    gtag('event', 'view_item', {
      currency: '{{ cart.currency.iso_code }}',
      value: {{ product.price | divided_by: 100.0 }},
      items: [{
        item_id: '{{ product.selected_or_first_available_variant.sku | default: product.id }}',
        item_name: '{{ product.title | escape }}',
        item_brand: '{{ product.vendor | escape }}',
        item_category: '{{ product.type | escape }}',
        price: {{ product.price | divided_by: 100.0 }},
        quantity: 1
      }]
    });
  }
</script>
{%- endif -%}
Note: Shopify prices are in cents, so the code divides by 100. Test on a multi-currency store, because Shopify Markets may need cart.currency adjustments.
6Mark purchase as a key event
- In GA4, go to Admin, then Events.
- Find
purchaseand toggle Mark as key event. Addbegin_checkoutas a key event too if you want a funnel signal. - Wait 24 to 48 hours, then check Reports, then Monetization, then Ecommerce purchases to confirm revenue is flowing.
Key events are what Google Ads imports for Smart Bidding. Without this step, your ads optimize for the wrong signal.
7Set up consent mode and privacy
- If you sell into the EEA or UK, use a consent banner that supports Google Consent Mode v2.
- Set Shopify's customer privacy settings to match your banner, so analytics and ads only run after the visitor accepts.
- Test in an EU VPN or in a private window with the banner set to reject. Confirm GA4 still records anonymous cookieless pings, and that no full identifiers are sent after rejection.
8Link GA4 with Google Search Console and Google Ads
- In GA4 Admin, under Product links, link Search Console to see organic queries and landing pages.
- Link Google Ads so your conversions and audiences sync for campaigns.
Common Mistakes to Avoid
- Running two GA4 tags (theme snippet plus app)
- Currency set to USD while the store sells in INR
- Not marking purchase as a key event
- Including your own team's test orders in reports
- Ignoring consent mode for EU traffic
- Judging data in the first 24 hours
Troubleshooting: Symptom, Cause, Fix
| Symptom | Likely cause | Fix |
|---|---|---|
| No data in Realtime | Wrong Measurement ID or store not connected | Re-check the ID in the Google & YouTube app and clear the cache |
| Purchases doubled | Two GA4 tags firing | Remove the theme snippet, keep one method, retest with one order |
| Purchase value is 0 | Event not mapped to order total | Confirm the purchase event in DebugView includes value |
| Revenue much lower than Shopify | Ad blockers, consent rejections, split sessions | Compare the same date range and currency; expect a 10 to 30 percent gap |
| Events missing on mobile | Theme script errors or slow load | Test with the browser console open and check the Shopify speed guide |
Pro Tips
Get more value from GA4
- Create a custom report for revenue by product and channel
- Set up a test order each week to confirm purchases are tracked
- Use server-side tagging only if ad blockers cause a large gap
- Document your tracking setup so future theme changes do not break it
- Review events after every theme or app update